

Dreaming of a New Kitchen but Afraid of Costly Surprises? 25 Steps Designers Take to Do a Kitchen Remodel

A beautiful kitchen doesn’t begin with tile samples or a trip to the appliance store. It begins with a plan.
Today, I’m pulling back the curtain on the 25 steps I take to design and guide a kitchen remodel—from our very first conversation to the day you cook your first meal in your new space.
“For which of you, intending to build a tower, does not sit down first and count the cost, whether he has enough to finish it.”
I love that Jesus used a building project to teach us about wisdom and preparation. Anyone who begins to build without a plan risks leaving the work unfinished.
A kitchen remodel is a practical example of that truth. Sitting down first, planning carefully, and counting the cost before the first cabinet comes off the wall isn’t a sign of fear or a lack of faith. It’s good stewardship of the home and resources God has entrusted to you.
There’s also great peace in this verse. When we plan well and then place that plan in God’s hands, we don’t have to carry the weight of every unknown. Surprises may still come, but they don’t have to shake us. We’ve prepared wisely, and we trust the One who holds it all. A kitchen built on that kind of foundation can become a place of provision, gathering, and gratitude for years to come.

Sheree Farmhouse Transitional Kitchen
Why Kitchen Remodels Can Feel So Overwhelming
The kitchen is arguably the most important room in the home. We use it every day, gather in it, and it’s often the most expensive room to remodel. Cabinets, countertops, appliances, lighting, plumbing, flooring, hardware, and countless other details all need to work together—and in the right order. It’s no wonder so many homeowners feel overwhelmed before they even begin.
Most people see the excitement of the initial idea and the joy of the finished room, but they don’t see everything that happens in between. That’s where costly surprises can hide. Cabinets may be ordered before appliances are chosen, only to discover that the refrigerator doesn’t fit. Paint may be selected first, then clash with the other finishes. Contractors may bid on vague plans, and change orders can begin to pile up.
These problems don’t happen because homeowners lack good taste. They often happen because no one has shown them the process. Once you can see the road ahead—from the first conversation to the final reveal—a remodel can feel less like a mountain of unknowns and more like a series of clear, manageable steps.
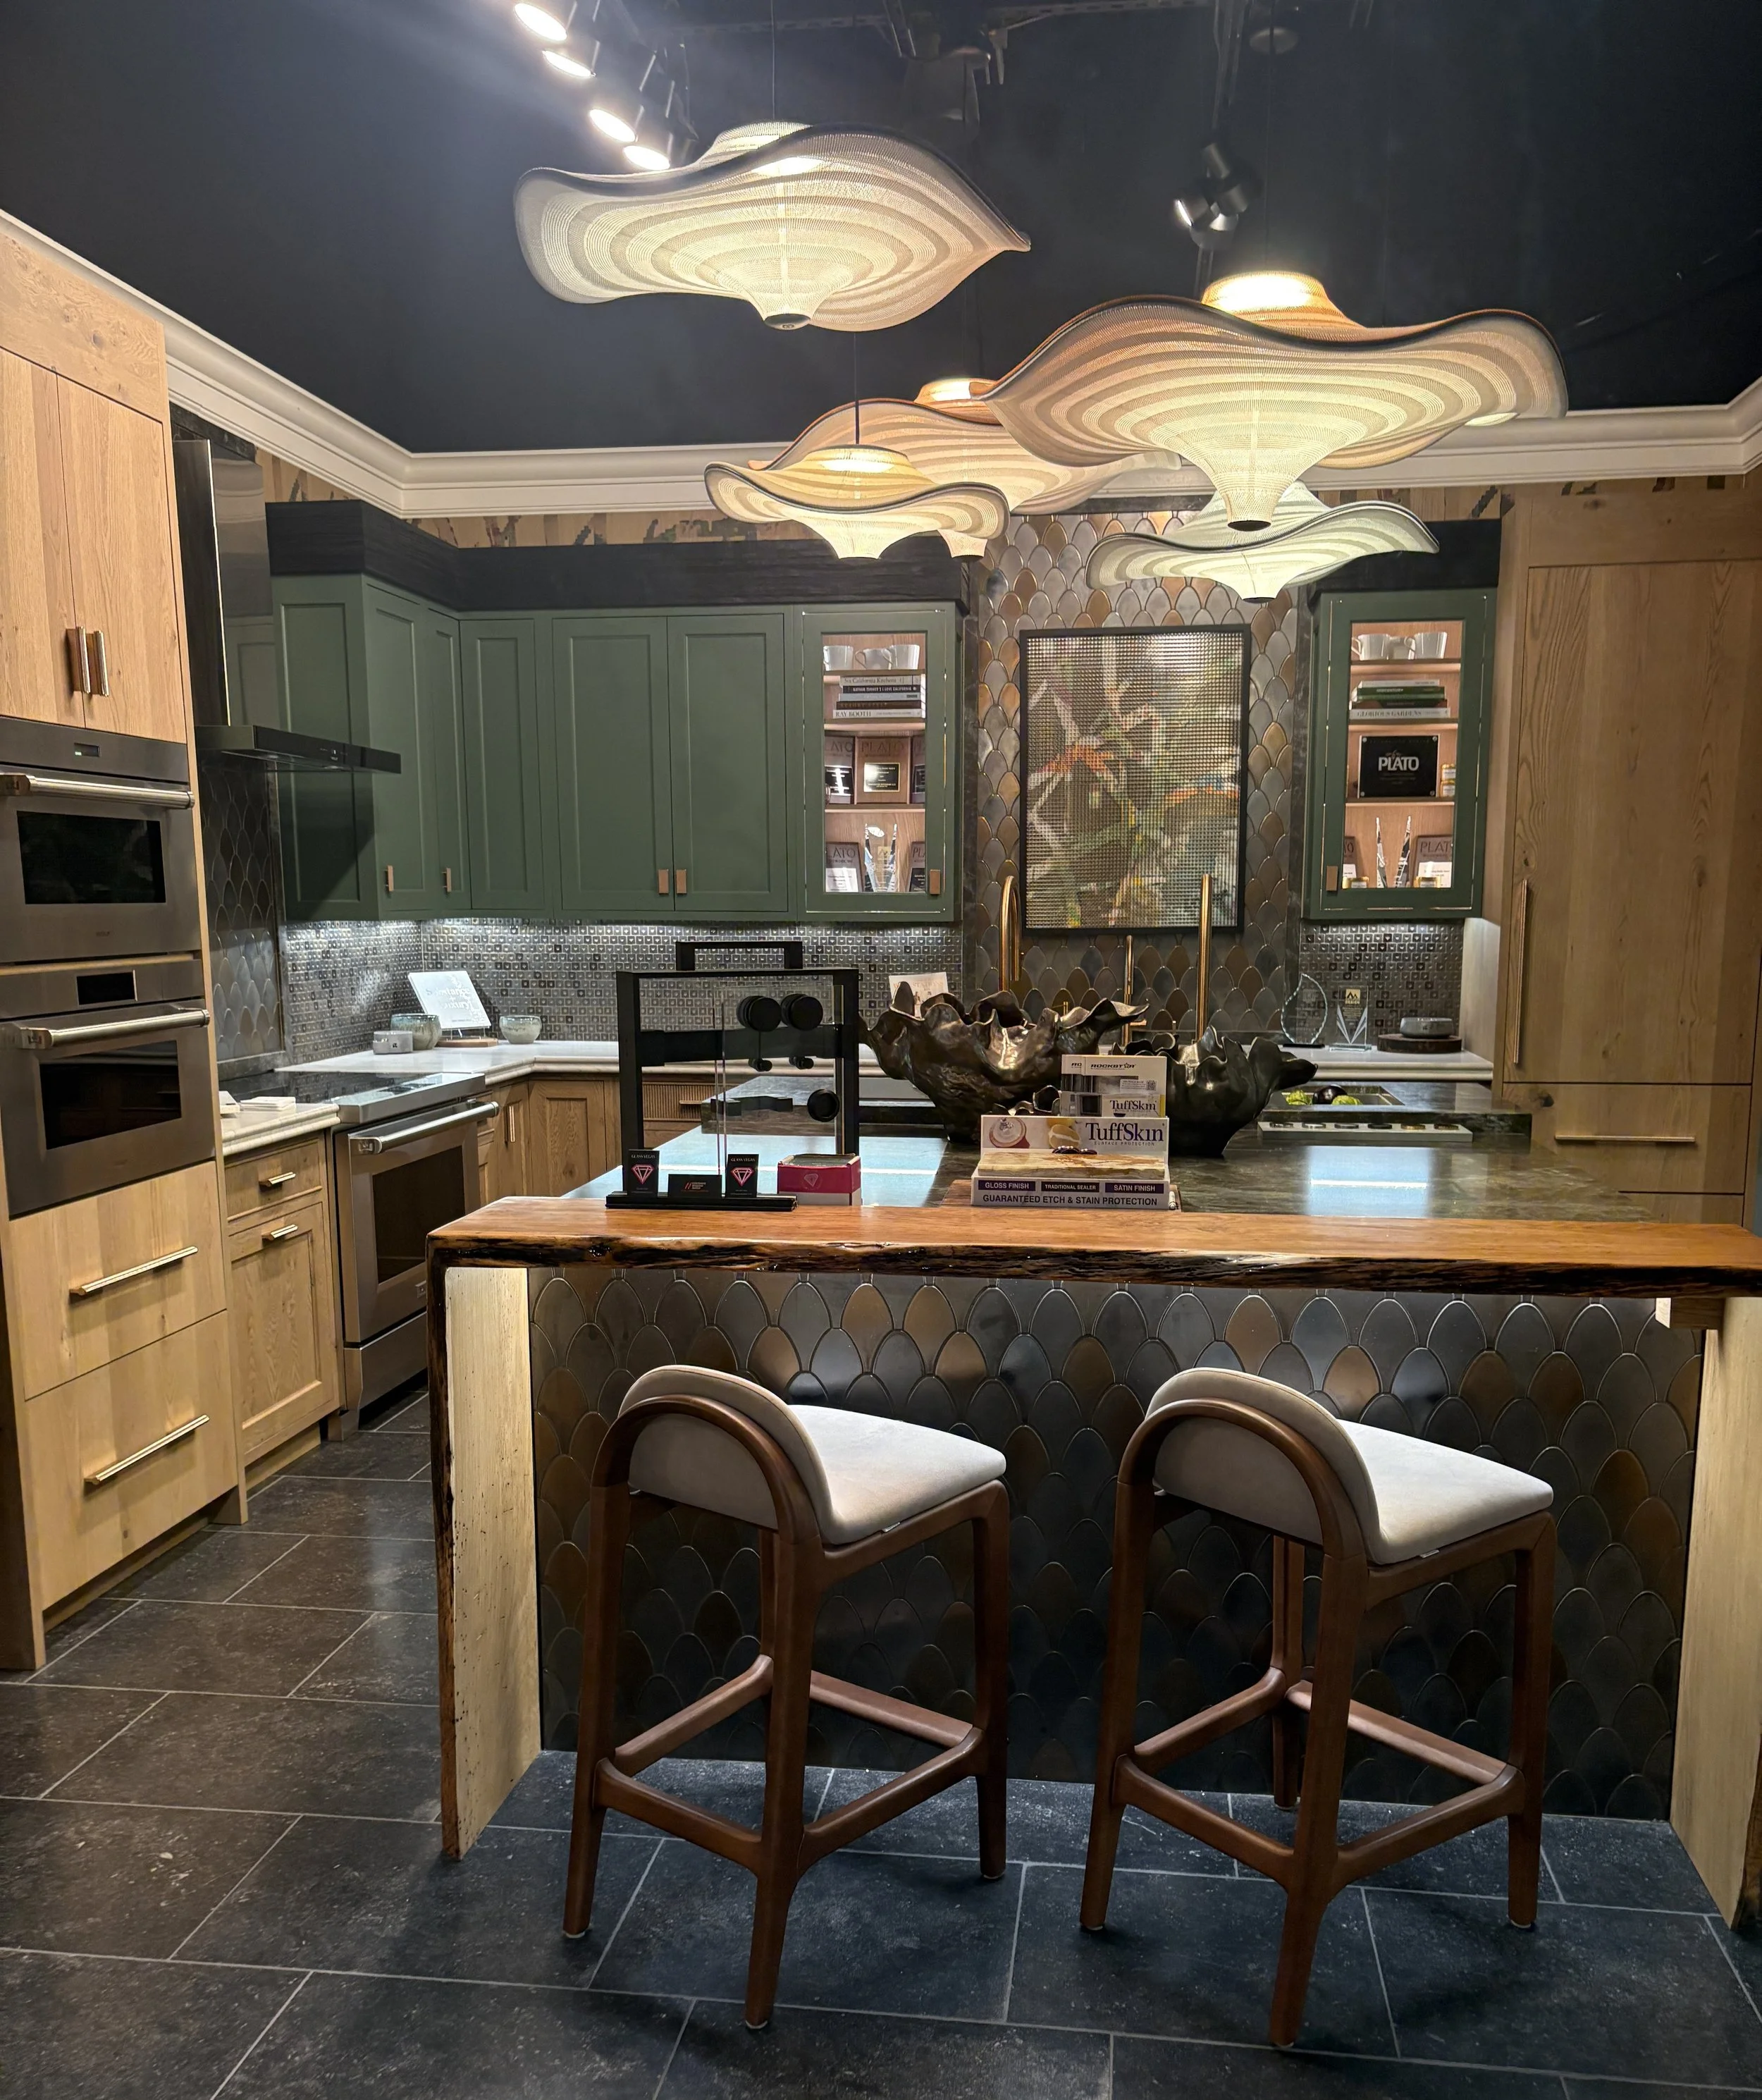
Sheree kitchen island
The 25 Steps of a Designer-Led Kitchen Remodel
I organize a kitchen remodel into five phases. Let’s walk through them together.
Phase 1: Vision and Planning
1. Have a lifestyle conversation. We talk about how you cook, who cooks with you, how often you entertain, and whether the grandchildren gather at the island after school. A kitchen designed around your real life can serve you for decades; one designed around a picture may frustrate you every day.
2. Define the feeling and your style. Do you want your kitchen to feel warm and welcoming, clean and calm, or rich and dramatic? Your Interior Design Personality Style—A. Classic Dramatic, B. Romantic, C. Executive, or D. Ethnic—can help guide those choices. When the feeling is clear, hundreds of later decisions become easier.
3. Set the budget and priorities. We talk openly about your investment and decide where it matters most to you, whether that’s the range, countertops, or cabinetry. I recommend setting aside a contingency of 10 to 20 percent for the unexpected.
4. Measure and document the space. We record every wall, window, door, ceiling height, and the location of existing plumbing, vents, and electrical. In a kitchen, even a quarter of an inch can determine whether a refrigerator fits or a drawer opens.
5. Assess existing conditions. We look at plumbing, electrical capacity, ventilation, structure, and any load-bearing walls so we understand what’s possible before demolition begins.
6. Confirm permits and homeowners association requirements. This helps protect your safety, your investment, and your home’s value when it’s time to sell.
Phase 2: Layout and Design
7. Plan the space. I design work zones for preparation, cooking, cleanup, and storage, along with walkways and traffic flow. The layout is the foundation of the kitchen. Beautiful finishes can’t fix a layout that doesn’t work.
8. Select appliances early. Many homeowners choose appliances last, but designers choose them early because appliance sizes, ventilation needs, and gas or electrical requirements shape the cabinetry. Designing cabinets before selecting appliances is one of the most common and costly kitchen mistakes I see.
9. Select plumbing fixtures. We choose the sink, faucet, and any extras, such as a pot filler, prep sink, or filtered water. These are features you’ll use every day, and they influence how the kitchen functions.
10. Create the lighting plan. This includes overall lighting, task lighting at the counters, and accent lighting for warmth and beauty, such as pendants over the island and under-cabinet lights. Lighting affects how safely you work, how your finishes look, and how the kitchen feels in the evening.
11. Plan the electrical. We place outlets, switches, dimmers, and charging stations where you’ll use them. These details are easy to plan on paper and much harder to change once the walls are closed.
12. Design the cabinetry. We plan the cabinets wall by wall, including heights, door styles, crown molding, and how the cabinets meet the ceiling. Cabinetry is usually the largest single investment in a kitchen and helps define its character.
13. Design the island. We consider its size, seating, storage, and the clearances around it. An island that’s too large can crowd the room, while one that’s too small may miss the opportunity to become the heart of family life.
14. Plan storage and organization. From deep drawers for pots and pans to pull-outs for spices, trash, and recycling, we create a home for the things you use. Thoughtful storage helps your kitchen stay calm and uncluttered long after the remodel is finished.

Sheree plates and bowls in kitchen drawers light cabinetry
Phase 3: Selections and Finishes
15. Choose countertops. We consider how you cook, how much care you want to give the surfaces, and the look you love. Countertops are among the most visible and hardest-working surfaces in your home.
16. Choose the backsplash. It protects the walls and can be a place where your kitchen’s personality shines.
17. Select flooring. The floor needs to be durable, comfortable to stand on, and connected to the flooring in the rest of your home. The kitchen floor handles more traffic and spills than almost any other floor in the house.
18. Select hardware and coordinate metal finishes. We coordinate the faucet, lighting, appliances, and hardware. As we discussed in my “No Matchy-Matchy” episode, the goal is harmony—not making everything identical. Hardware is like the jewelry of the kitchen, and you’ll touch it countless times a day.
19. Choose paint and the overall color palette. Paint comes after the major finishes because it should support the cabinets, counters, and flooring—elements that are much harder to change than a wall color.
20. Choose the soft features. Counter stools, a banquette or breakfast table, window treatments, and other soft details bring comfort and warmth, helping the kitchen feel lived in rather than sterile.
Phase 4: Presentation and Preparation
21. Present the design. I bring the complete design together with drawings, finish samples, and selections. Then we refine it until it feels right. Seeing everything together helps you make confident decisions before construction, when changes are easier and less expensive.
22. Bid the project and select a contractor. With a complete design and clear scope, contractors can bid on the same plan, allowing you to compare their bids fairly. Clear drawings lead to more accurate bids and far fewer surprise change orders.
23. Order materials according to lead times. Some items need to be ordered weeks or months in advance. Planning ahead helps ensure materials arrive when they’re needed and keeps your family from living without a kitchen longer than necessary.
Phase 5: Construction and Completion
24. Oversee construction. I visit the site, answer the contractor’s questions, check that details match the design, and help solve unexpected issues. We also plan a temporary kitchen so your family can still eat well during the project. Having a designer on your side during construction helps protect the design you worked so hard to create.
25. Complete the punch list, final styling, and reveal. We walk through the kitchen together, note anything that needs to be finished or corrected, and then style the room so it feels complete. Those final details turn a construction project into a kitchen you love.
Speaking for a moment as a realtor, kitchens are among the rooms that matter most to buyers. A kitchen designed with care, planned in the right order, and finished well is an investment in both your everyday life and the long-term value of your home.

Sheree large luxury home kitchen with island and white cabinetry
Your Next Step: Start with How You Live
A kitchen remodel doesn’t have to be overwhelming when you understand the process.
Vision and planning lay the foundation; layout and design shape how the kitchen works; selections and finishes bring it beauty and presentation; preparation helps protect your budget and timeline; and construction and completion bring your vision to life.
The order matters at every turn. Appliances come before cabinets, finishes come before paint, and a complete design comes before bidding.
Your next step is simple. Before you shop for a single finish, sit down and write down how you want your kitchen to feel and how you really use it every day. That’s Step 1—and it’s the foundation for everything that follows.

Sheree gray cabinets in contemporary kitchen light wood floors pendant lights
Frequently Asked Questions
How long does a designer-led kitchen remodel take?
Every project is different, but the design and planning phases often take several weeks to a few months, and construction commonly takes several more weeks to a few months depending on the scope and material lead times. Careful planning up front usually shortens the time you spend without a working kitchen.
Why should appliances be chosen before cabinets?
Appliance sizes, ventilation needs, and gas or electrical requirements determine the cabinet openings and layout around them. Choosing appliances first prevents costly cabinet changes and ensures everything fits.
How much contingency should I set aside for a kitchen remodel?
A contingency of ten to twenty percent of the project budget is a wise starting point. It covers unexpected conditions behind walls or under floors and gives you peace of mind throughout construction.
Do I really need a designer for a kitchen remodel?
A designer coordinates the layout, selections, and details so they work together and happen in the right order. That guidance often prevents mistakes that cost far more than the design itself and results in a kitchen that fits the way you live.
Resource
Ready for personalized, professional support to transform any room in your home? The Beautiful Room Makeover Experience gives you a guided path there. Let's hop on a quick call and see if it's the right fit for you.
Find Out More about The Beautiful Room Makeover Experience.